
Can my car tow a Go-Pod?
Quick answer:
If your car’s braked towing limit is 750kg or more, it can tow a standard 750kg-plated Go-Pod. Your quickest check is the V5C (logbook) or the manufacturer’s towing data, then confirm towbar availability and noseweight.
If you're considering a Go-Pod as a means to get away this year, the first thing you should do is check whether your current vehicle is capable of towing one, or whether you'll need to make a change.
While most manufacturers cater to the possibility that drivers may need to tow at some point, the chassis and other critical components of some cars just aren't built to withstand the extra stress that towing places on a vehicle.
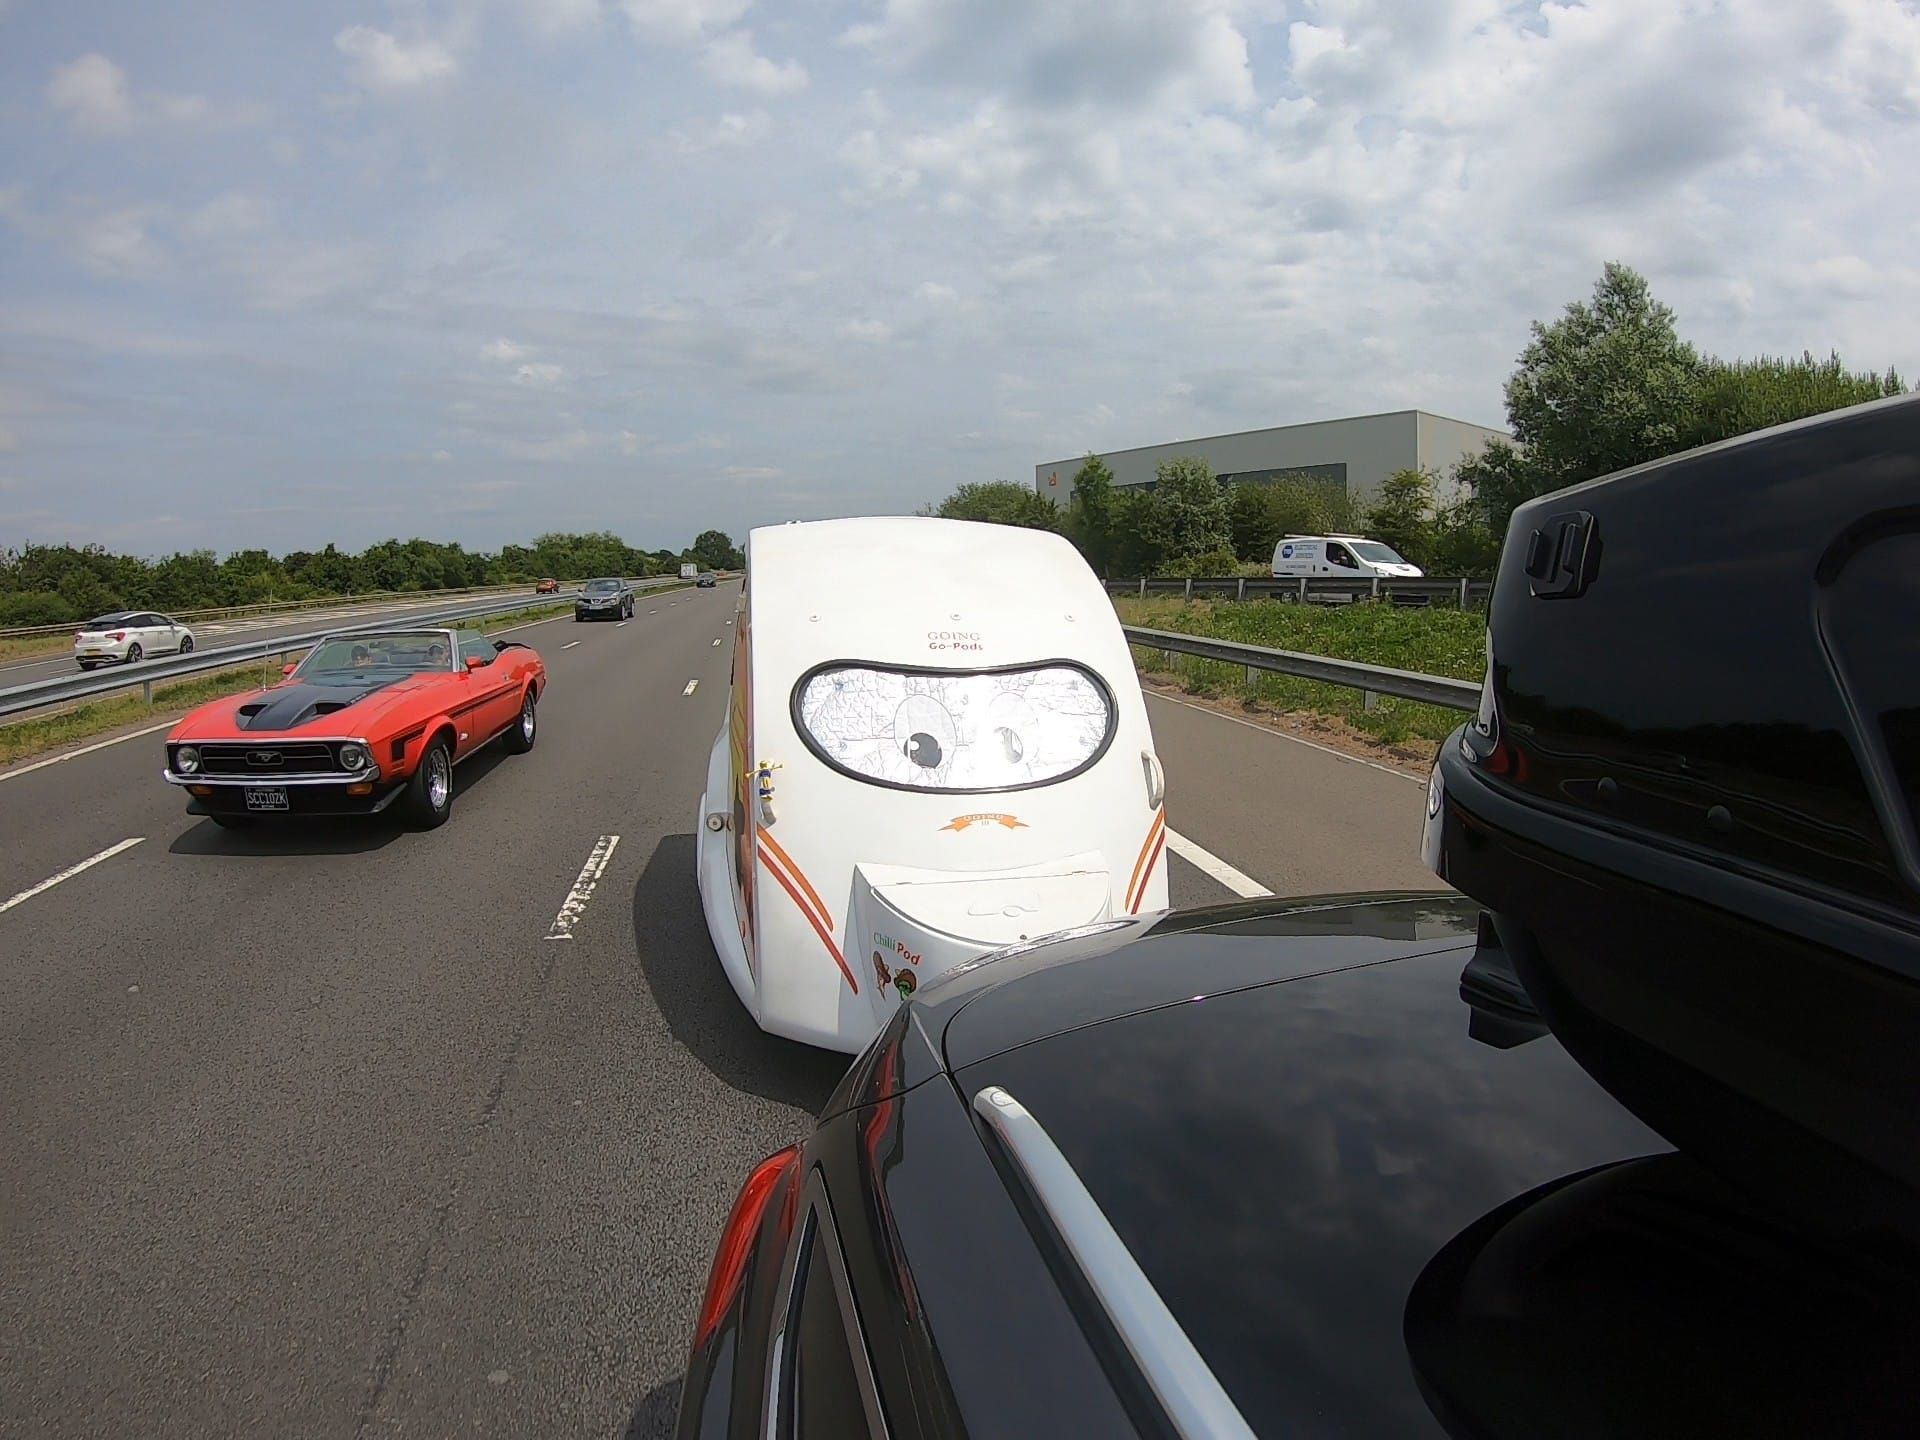
Go-Pods can be towed by the vast majority of modern cars (including EVs) but there are some exceptions with certain manufacturers & models.
Step 1: Find your braked towing allowance (where to look)
The first thing you'll need to do is ascertain the braked towing allowance of your vehicle. Most vehicles have 2 separate allowances, one for braked trailers (trailers with their own integral braking system) and another for unbraked trailers (which rely on the tow vehicle's brakes to come to a stop).
Method 1: V5C (logbook)
The quickest way to find your vehicle's braked towing allowance is to check your V5C (logbook) document.
On the first inside page, around a third of the way down, you should see the subheading "O: Technical Permissible Maximum Towable Mass of Trailer".
Immediately below this, find the subheading "O.1: Braked (kg)" and the figure displayed next to this will be your braked towing allowance.
If this figure is 750kg or more, your vehicle is capable of towing a Go-Pod.


Method 2: VIN plate
If you don't have your V5C to hand, an alternative "manual" method for checking your braked towing allowance is to find the VIN/chassis plate.
This metal plate is usually affixed to the inside of one of the door openings, or in the engine bay and displays 4 key figures; the "Gross Vehicle Weight" (maximum allowed weight of the vehicle, fully laden), "Gross Train Weight" (maximum allowed weight of the vehicle & a trailer, both fully laden) and "Axle Weights" (weights measured at each axle of the car).
To find your braked towing allowance, simply subtract the Gross Vehicle Weight from the Gross Train Weight figure and if the result is 750kg or more, you can tow a Go-Pod.
Step 2: Know what you're comparing it to
(MTPLM vs MiRO)
Once you've established your towing vehicle's braked towing allowance, you'll next need to make sure that a Go-Pod fits within that allowance.
There are 3 key terms you need to understand:
MTPLM
MTPLM stands for "Maximum Technically Permissible Laden Mass". This is the maximum allowed weight of a trailer/caravan when fully laden (i.e, loaded up with your accessories, clothes, food, sundry items etc).
Go-Pods have an MTPLM of 750kg, meaning that the maximum they can weigh when fully loaded cannot exceed 750kg.
MiRO
MiRO stands for "Mass in Running Order".
This is also referred to as the "factory weight" of a caravan/trailer, without any items or aftermarket accessories transported inside.
The MiRO of Go-Pods is 580kg.
Payload
The "Payload" of a caravan or trailer is the weight allowance for additional items/accessories. This is found by subtracting the MiRO figure from the MTPLM.
A factory standard Go-Pod has a payload of 170kg.
Step 3: Quick checks
(before you get excited)
If you've established that your vehicle has adequate towing allowance for a Go-Pod, there are a couple of other things you'll need to check before you pull the trigger and place an order for your own Go-Pod.
1. Make sure a tow bar is available for your vehicle
Before doing anything else, make sure that a tow bar is available for your vehicle.
While some vehicles are technically capable of towing (adequate chassis & engine strength, etc), elements of the design may prevent a tow bar from being fitted.
A good example of this is the Mini Clubman. While it should be perfectly capable of towing a small trailer/caravan, the design of the boot (doors that open outwards from the middle) means a tow bar would prevent opening of & access to the boot.
Some newer cars do not have OEM tow bars available as soon as they are released. If this is the case with your vehicle, it's worth speaking to a local dealer to find out when that tow bar will be released. It often takes up to 6 months for cheaper, aftermarket versions to hit the market as manufacturers first have to copy & adapt the official OEM design.
2. Check maximum nose weight allowance
"Nose weight" refers to the downward force applied by a caravan or trailer, via the hitch, to the tow vehicle's tow ball.
The maximum nose weight for your particular vehicle can usually be found in the vehicle's manual, tow bar data plate (look for "maximum vertical force"), or in some cases, on the VIN plate.
Go-Pods have a nose weight of 49kg, which will increase if you store a gas bottle or other items in the front box. To check the exact nose weight of your Go-Pod, you can purchase nose weight gauges online which wrap around the hitch of the Go-Pod and measure the weight as you gently lift.
Step 4: Will it tow nicely?
Smooth & easy towing is one of the core design concepts of Go-Pods. They're lightweight, compact and aerodynamic and these 3 things contribute to providing a calm, stress-free experience when towing.
There are of course other things that will factor into your towing experience; your confidence levels when towing, your vehicle's engine power (we find 1.6L engines are the sweet spot between towing power & fuel economy), the surface of the road you're towing on and weather conditions
Here are a few quick tips to ensure a hassle-free towing experience:
1. "Pre-flight" checks
Before setting off, cover the basics:
Check the tyre pressure of both the tow vehicle & Go-Pod, inflate/deflate as necessary.
Check operation of brakes (if you're not sure, take your Go-Pod for a short test drive locally before setting off on the main journey)
Make sure your hitch is properly secured to the tow ball (the green indicator on the hitch, in front of the handle, will pop up when it's secure)
Ensure the jockey wheel is raised fully, turn the wheel backwards (so it's facing away from the hitch) and clamp in position securely, to avoid dropping while towing.
Make sure your towing electrics are plugged in properly & all driving lights/indicators are functioning correctly (you may need the assistance of another person to check this - or use a mirror/record a video on your smartphone while you pump on & off the brakes and flick the indicators on and off)
Correctly attach the breakaway cable (it should look around the upright section of the tow bar, below the tow ball and hitch, then clip back onto itself)
Release the handbrake
Check the weather forecast - if you're likely to hit adverse weather conditions en route to your destination, it may be a good idea to plan extra stops at service stations, or even stop off at a site on the way for a night until the weather clears.
2. Plan your route
Plan your route thoroughly in advance, particularly if it will be a long journey or you're visiting an area that you're not familiar with.
Roadworks, detours down tight country roads, traffic jams and rerouting through busy areas can turn what should be a nice, calm, leisurely drive into a stress-packed nightmare. Planning ahead can prevent blood pressure spikes!
It's always advisable to plan alternative routes just in case you hit a snag - lane closures on motorways due to accidents, heavy traffic or freak weather events.
3. Take it slow
You're supposed to be in holiday mode - take it slow and ensure you arrive on site ready to relax. The speed limit when towing on motorways and other national speed limit roads is just 60mph anyway, so what's the rush?
Even if you're running late and may potentially arrive on site after their advertised check-in time, you'll find most sites are more than understanding and will make an exception if you get delayed. They'd much rather you arrive safely and thoroughly enjoy your time away than risk disaster by rushing to get to them.
Common mistakes
(and how to avoid them)
In our 15 years of selling Go-Pods, we've heard and seen it all. It's easy to make a small mistake with big consequences if you're rushing to head off, over-excited or just plain stressed.
Here's a list of the most common mistakes and how to avoid them:
1. Pulling off without releasing the handbrake
This is a surprisingly common one, and easy enough to do. Whenever you pull off, first make sure you have disengaged the Go-Pod's handbrake fully.
Failing to do so may damage the Go-Pods brakes, put more strain on your tow vehicle and in the most extreme cases, the friction between the Go-Pod's wheel discs and the brake pads can cause them to ignite.
2. Make sure the driving lights are working
Whenever you set off in your Go-Pod, you should make sure that all of the driving lights are functioning correctly. The easiest way to do this is to get another person to stand behind your Go-Pod while you pump on and off of the brakes, flick each indicator on and off and put the car into reverse.
If any of the lights aren't functioning correctly, this can be due to corroded pins in the towing electric plugs (either the male or female side) or it could point to an issue with your car's electrical systems.
Top tip: Spray some WD40 into the towing electric plugs from time to time. This will protect them from corrosion and make it a bit easier to twist & secure the plug next time.
3. Raise & clamp the jockey wheel securely
Another one that we've seen all too many times.
Make sure that the jockey wheel is raised fully (once the Go-Pod is hitched to your car, wind the jockey wheel up as far as it will go until the horizontal protruding metal parts that meet the wheel sit within the grooves at the bottom of the outer tube), unclamp it, lift it up as far as it will go (turning the wheel to face away from the hitch) and then reclamp securely.
If you clamp it too loosely, you run the risk of the jockey wheel dropping in transit which could damage it, or tear it off entirely in the worst cases.
4. Secure the pop-top fully
This one isn't likely to have any catastrophic consequences, but you may get a few funny looks from passing motorists.
Make sure that the pop-top is fully secured before setting off, with each of the 6 straps pressed firmly onto the press studs.
Comments